A Comprehensive Guide to Residential Parking Lot Paving for 2026 and Beyond
Table of Contents
- Why Residential Paving is Distinct from Larger Projects
- Material Choices: Asphalt Versus Concrete and Hybrid Options
- Preparing the Site: Grading, Drainage, and Base Construction
- Planning the Driveway-to-Lot Transition and Edge Details
- A Step-by-Step Timeline for a Typical Residential Parking Resurfacing
- Surface Treatments Explained: Sealcoating, Overlays, and Crack Repair
- Maintenance Calendar: First Year Through Decade-Long Care
- Troubleshooting Common Failures: Cracks, Edge Crumble, and Drainage Issues
- Safety, Accessibility, and Local Regulation Considerations
- Estimating Useful Life and When to Consider Resurfacing
- Checklists for Planning and Post-Install Inspection
- Further Reading and Technical References
Why Residential Paving is Distinct from Larger Projects
When considering residential parking lot paving, it is crucial to understand that it differs significantly from commercial or industrial projects. The scale, traffic patterns, and aesthetic considerations are unique. Unlike a large retail lot designed for constant, heavy vehicle traffic, a residential parking area serves a smaller, more consistent group of users. This distinction influences every decision, from material selection to long-term maintenance strategies.
The primary focus for residential projects is often on resident convenience and minimizing disruption. Paving schedules must be coordinated to ensure residents have access to their homes. Furthermore, the final appearance is paramount, as the parking lot is an integral part of the property’s curb appeal. Factors like noise during construction, drainage that affects adjacent landscaping, and smooth transitions to walkways and driveways take on greater importance. A successful residential parking lot paving project balances durability with a design that complements the living environment.
Material Choices: Asphalt Versus Concrete and Hybrid Options
Selecting the right material is a foundational decision in any paving project. The choice primarily comes down to asphalt and concrete, each with distinct advantages and disadvantages for residential settings. Understanding these differences is key to a long-lasting and cost-effective surface.
Asphalt (Bituminous Concrete)
Asphalt is the most common choice for residential parking lot paving due to its cost-effectiveness and flexibility. It consists of aggregate (stone, sand, and gravel) bound together by asphalt cement, a petroleum-based product.
- Pros: Lower initial installation cost, flexibility that helps it resist damage from freeze-thaw cycles, and it is relatively quick to install and cure. Minor repairs and sealcoating driveway surfaces are straightforward.
- Cons: Requires regular maintenance (sealcoating every 3-5 years) to prevent oxidation and water damage. It can soften in extreme heat and is susceptible to damage from oil and gas spills.
Concrete (Portland Cement Concrete)
Concrete offers exceptional durability and a longer lifespan. It is a mixture of aggregate, cement, and water that hardens into a rigid, strong slab.
- Pros: Extremely durable with a lifespan of 30 years or more. It is resistant to heat and chemical spills and offers a lighter color, which can reduce the “heat island” effect.
- Cons: Higher initial installation cost. Repairs can be more complex and expensive. The rigid nature makes it more prone to cracking if the sub-base is not perfectly prepared, and it is not ideal for cold climates with heavy salt use.
Material Decision Flowchart
To simplify your choice, consider the following questions:
- Is the initial budget the primary constraint? If yes, consider asphalt. Its lower upfront cost is a significant advantage.
- Is long-term durability with minimal maintenance the top priority? If yes, concrete is the superior choice, despite its higher initial investment.
- Are you in a region with severe freeze-thaw cycles? If yes, the flexibility of asphalt often makes it a more practical option to prevent widespread cracking.
- Is the aesthetic of a light, clean surface important to the property’s design? If yes, concrete offers a more premium look. A detailed comparison can be found when researching asphalt vs concrete options.
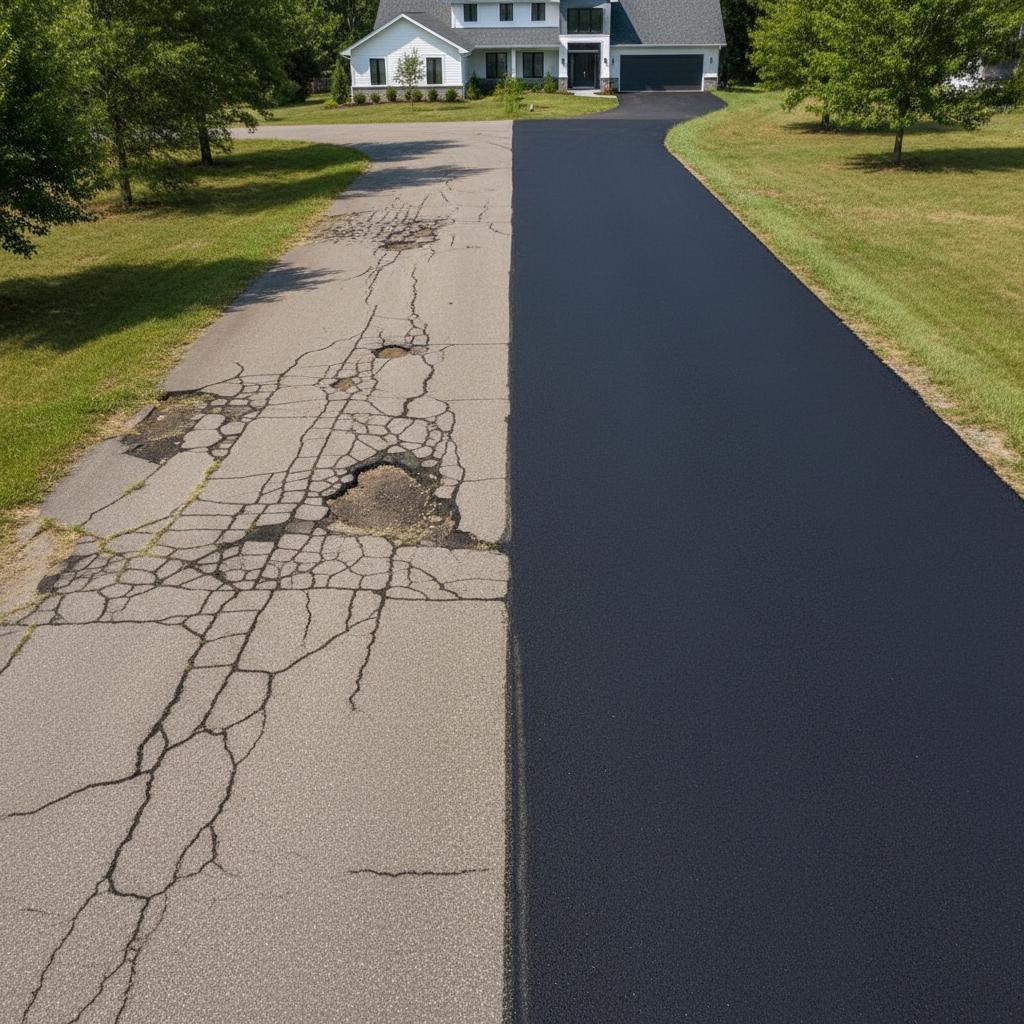
Preparing the Site: Grading, Drainage, and Base Construction
The longevity of any residential parking lot paving project depends less on the surface you see and more on the preparation underneath. A properly constructed base is non-negotiable for a durable, long-lasting parking area.
Grading and Drainage
Proper water management is the most critical aspect of site preparation. Water is the primary enemy of pavement. The site must be graded to a specific slope, typically between 1.5% and 3%, to ensure water sheds off the surface and into designated drainage areas like swales or storm drains. Poor drainage leads to pooling water, which can infiltrate the pavement structure, weaken the base, and cause premature failure, especially during freeze-thaw cycles.
Base and Sub-base Construction
Beneath the asphalt or concrete surface lies a crucial layered system:
- Subgrade: This is the native soil, which must be compacted to create a stable foundation. Unsuitable soil (like organic-rich topsoil or expansive clay) must be removed and replaced.
- Sub-base/Base: A layer of crushed aggregate rock is installed over the subgrade. This layer provides structural support, distributes vehicle loads, and aids in drainage. The thickness of this layer depends on the soil conditions and expected traffic load. For residential lots, this is often 4 to 8 inches thick.
Proper compaction at each stage—subgrade and base—is essential. Insufficient compaction will lead to settling, which results in surface cracks, potholes, and depressions.
Planning the Driveway-to-Lot Transition and Edge Details
Seamless integration with existing structures and landscaping is a hallmark of a well-executed residential paving project. The edges and transitions are where many paving jobs fail or look unprofessional.
Transitions
The points where the new parking lot meets driveways, walkways, or garage aprons must be smooth and level to prevent trip hazards and ensure proper drainage. A common technique is to cut a clean, straight edge into the existing pavement and create a “butt joint” where the new material meets the old. This ensures a strong, flush connection.
Edge Details
The unsupported edges of a parking lot are vulnerable to crumbling and erosion. There are several options to create a durable, finished look:
- Concrete Curbs: The most durable and effective solution for containing the pavement edge and directing water flow.
- Thickened Edges: Tapering the asphalt so it is thicker at the edges provides extra strength where vehicles are most likely to drive off the pavement.
- Gravel Shoulders: A simple, cost-effective solution where the pavement edge is supported by a compacted gravel shoulder, allowing for a gradual transition to landscaping.
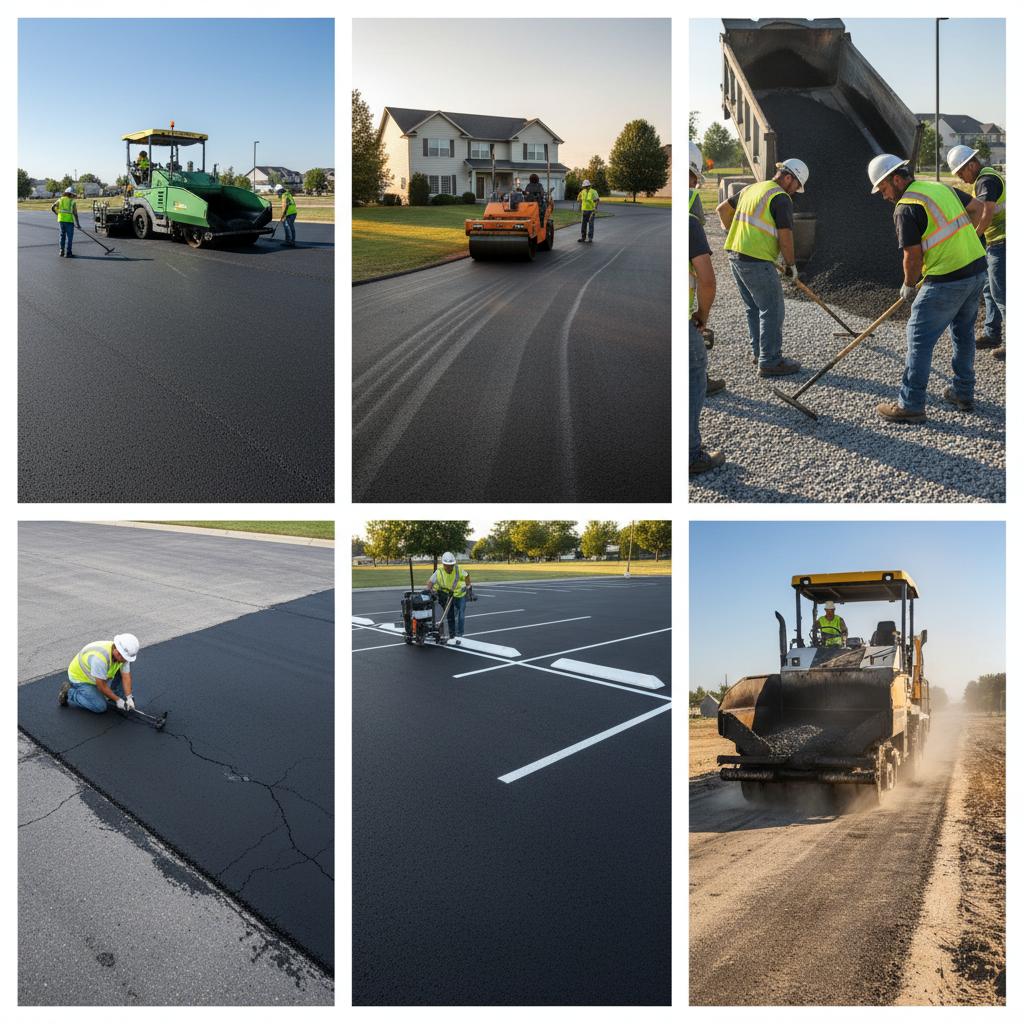
A Step-by-Step Timeline for a Typical Residential Parking Resurfacing
Understanding the process helps manage resident expectations and minimize disruption. A standard resurfacing (overlay) project typically follows this timeline, weather permitting:
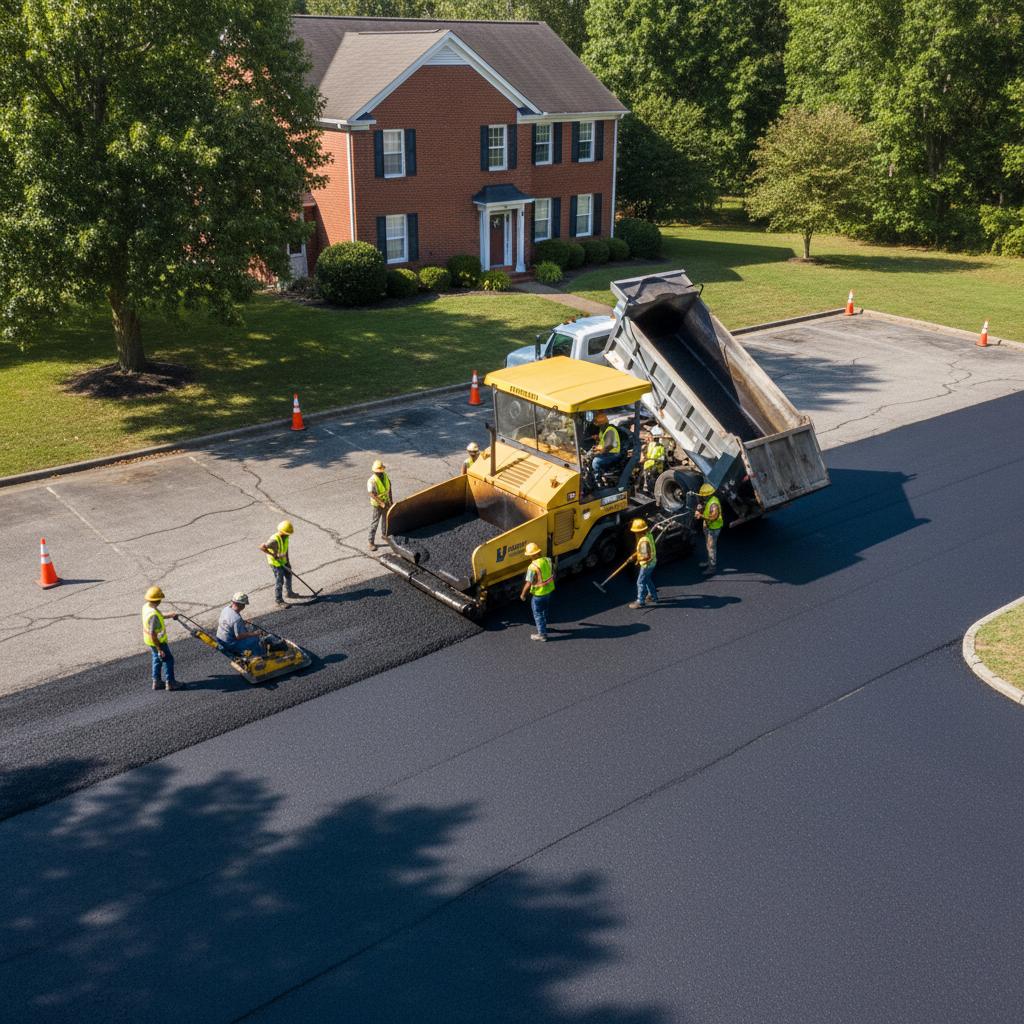
- Day 1: Preparation and Milling. The crew arrives to clean the entire surface of debris. Any areas of significant failure (“alligator cracking”) are cut out and repaired. If specified, a milling machine grinds down a layer of the existing asphalt, especially at transitions, to ensure the new layer matches existing elevations.
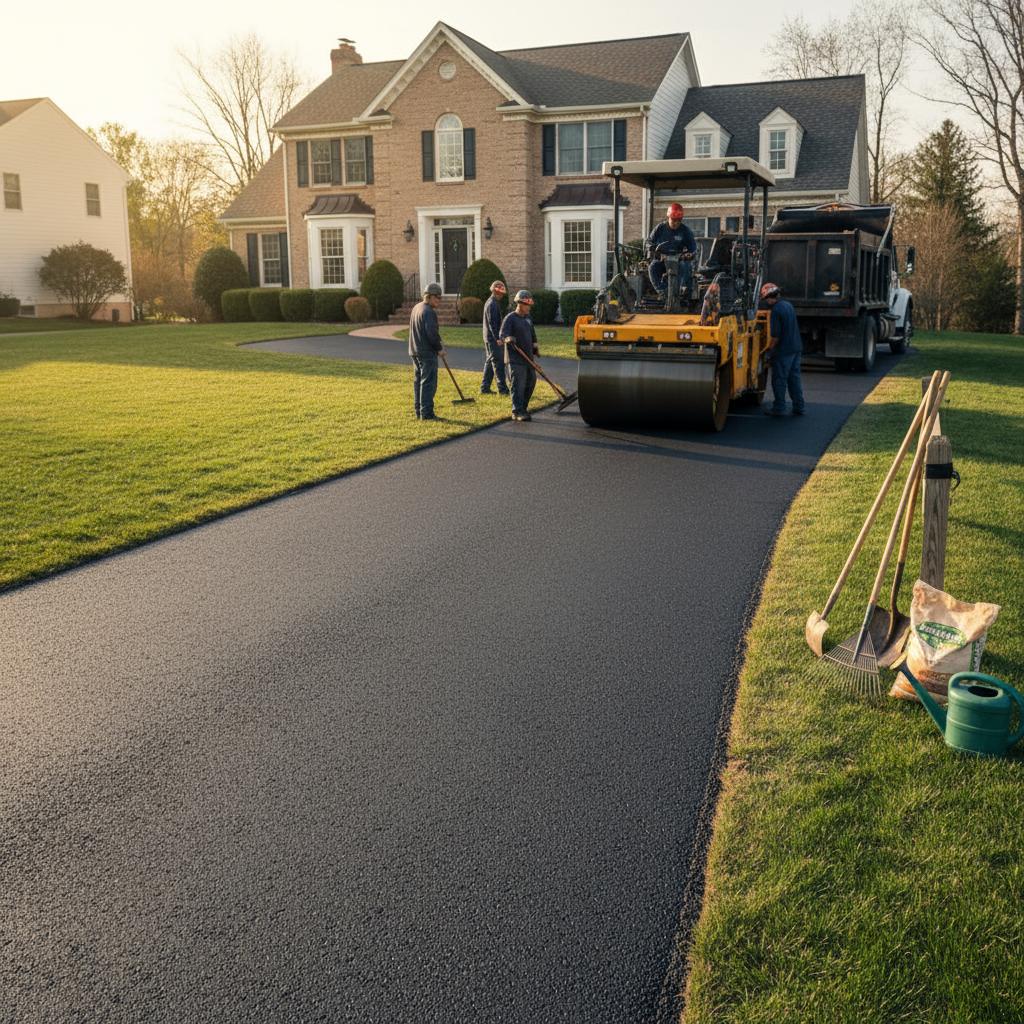
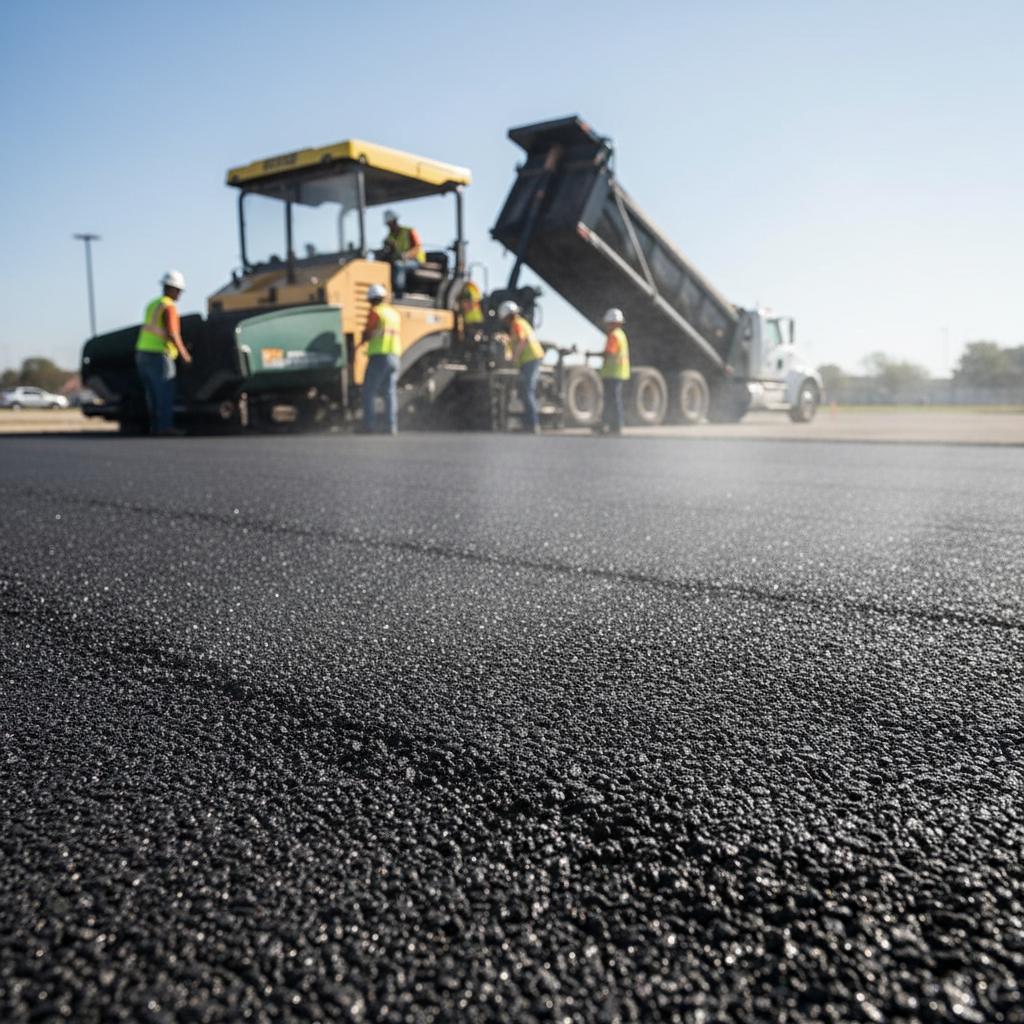
- Day 2: Application of Bond Coat and Paving. A tack coat (asphalt emulsion) is sprayed onto the old surface to act as a glue for the new layer. Hot mix asphalt is then delivered and laid down using a paving machine to a specified, compacted thickness (typically 1.5 to 2 inches).
- Day 3: Compaction and Curing. A series of rollers compact the new asphalt to achieve the required density. The area is then barricaded to allow for initial curing. Light foot traffic may be possible after a few hours, but vehicle traffic should be restricted for at least 24-72 hours, depending on the temperature.
- Day 4-5: Striping and Cleanup. Once the surface is sufficiently cured, parking lines and markings are painted. The site is thoroughly cleaned, and the project is complete.
Surface Treatments Explained: Sealcoating, Overlays, and Crack Repair
Maintenance is key to maximizing the life of your pavement. Different issues require different solutions.
Crack Repair
Cracks are inevitable and should be addressed promptly to prevent water from penetrating the base. For smaller cracks (less than a half-inch wide), a hot-pour or cold-pour rubberized crack sealant is used. This flexible material seals the crack and prevents moisture intrusion.
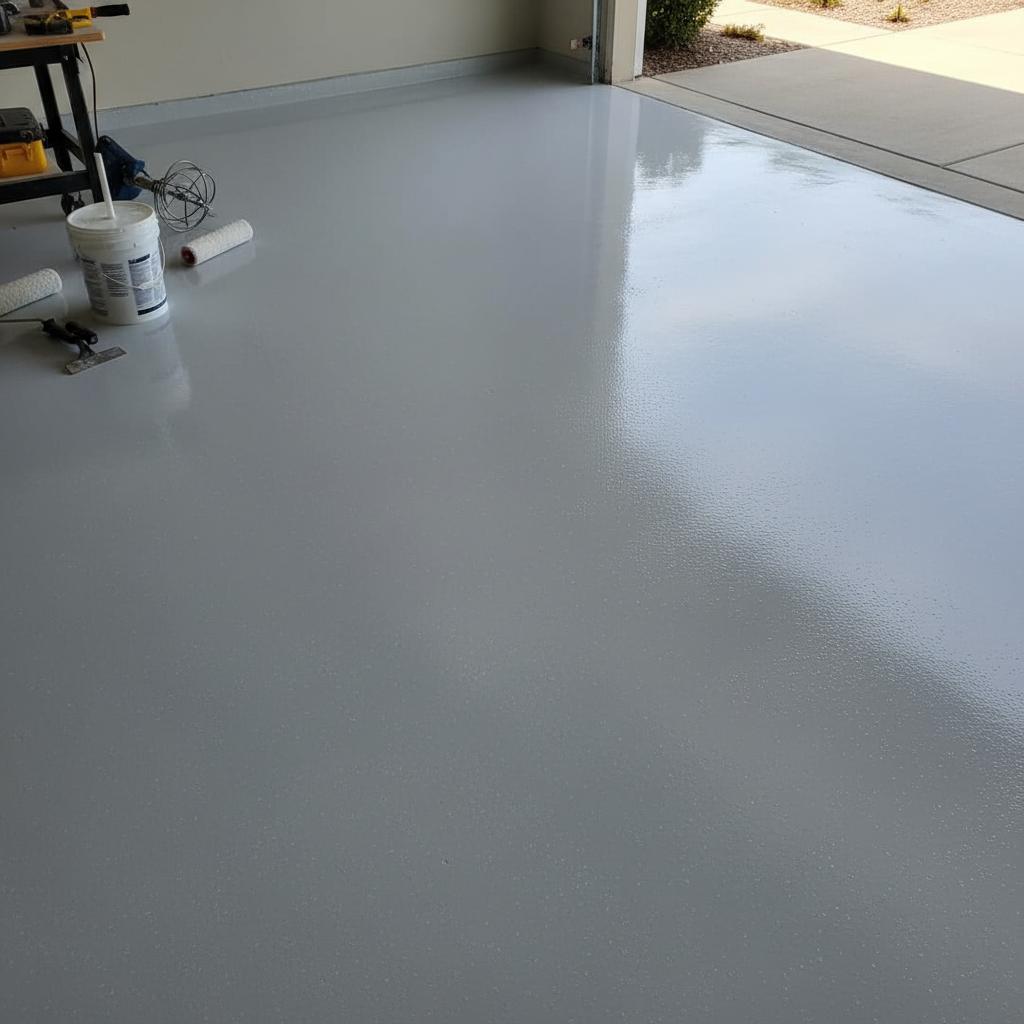
Sealcoating
Sealcoating is a protective, preventative measure for asphalt surfaces. A thin layer of a specialized coating is applied to shield the pavement from UV radiation, water, and chemical spills. It also restores the rich, black finish. For a residential lot, this should typically be done one year after installation and every 3-5 years thereafter.
Asphalt Overlay (Resurfacing)
When the surface has widespread cracking or has become rough and worn but the base is still stable, an overlay is a cost-effective solution. This involves adding a new layer of asphalt (1.5-2 inches) over the existing, prepared surface. It restores the smooth finish and extends the life of the parking lot by 8-15 years.
Maintenance Calendar: First Year Through Decade-Long Care
A proactive maintenance plan for residential parking lot paving protects your investment. Here is a sample calendar for a new asphalt surface.
| Timeframe | Action Items |
|---|---|
| First 90 Days | Avoid sharp turns and parking vehicles in the same spot for extended periods to prevent indentations while the asphalt fully hardens. Clean up any fluid leaks immediately. |
| Year 1 | Inspect for any settlement or premature cracking. Perform a first sealcoat to protect the fresh pavement from oxidation and weathering. |
| Years 2-5 | Conduct annual inspections in spring. Clean the surface thoroughly each year. Fill any new cracks that appear. Plan for a second sealcoat around year 4 or 5. |
| Years 6-10 | Continue annual inspections and crack filling. The frequency of sealcoating may increase. Begin budgeting for a potential overlay as the surface shows more widespread wear. |
| Years 10+ | Evaluate the surface condition annually. Widespread, interconnected cracking (alligator cracking) is a sign of base failure. At this point, an overlay may not be sufficient, and a more extensive reconstruction could be necessary. |
Troubleshooting Common Failures: Cracks, Edge Crumble, and Drainage Issues
Even with proper installation, issues can arise. Identifying them early is crucial.
- Alligator Cracking: Interconnected cracks forming a pattern like an alligator’s skin. This is a serious issue indicating a failure of the base or subgrade, usually due to water damage. This typically requires full-depth removal and replacement of the affected area.
- Linear (Longitudinal) Cracks: Cracks that run parallel to the direction of paving. These are often caused by poorly constructed joints between paving lanes or temperature fluctuations. They should be sealed promptly.
- Edge Cracking/Crumble: The breakdown of the pavement edges. This is caused by a lack of lateral support, heavy traffic too close to the edge, or poor drainage causing the base to soften. Installing curbs or reinforcing the edges can prevent this.
- Ponding Water: Areas where water collects after rain. This indicates a problem with grading or sub-base compaction. Minor depressions can sometimes be fixed with a thin patch, but significant issues may require more extensive repairs.
Safety, Accessibility, and Local Regulation Considerations
A residential parking lot paving project is not just about the pavement; it is about creating a safe and compliant space. Property managers must consider several key factors:
- Accessibility: Parking lots must comply with the Americans with Disabilities Act (ADA) or local equivalents. This includes providing a specific number of accessible parking stalls with proper dimensions, signage, and access aisles. The slope of these spaces and the routes to building entrances must also meet strict requirements.
- Lighting: Adequate lighting is essential for resident safety and security, deterring crime and preventing accidents.
- Signage and Markings: Clear, visible markings for parking stalls, traffic direction, and pedestrian crossings are necessary for an orderly and safe parking lot.
- Local Codes: Municipalities often have specific regulations regarding drainage, easements, and the types of materials that can be used. Always check with local authorities before beginning a project.
Estimating Useful Life and When to Consider Resurfacing
The decision to repair, resurface, or replace a parking lot depends on its overall condition. The Pavement Condition Index (PCI) is a scale from 0 to 100 used to rate the health of pavement. While a formal PCI rating requires an engineer, you can use a simplified approach.
Decision Flowchart for Pavement Action
- Is the pavement in good condition with only minor, isolated cracks? If yes, continue with routine maintenance like crack sealing and sealcoating.
- Is the surface showing widespread roughness, oxidation, and numerous linear cracks, but no major base issues (like alligator cracking)? If yes, an overlay (resurfacing) is likely the most cost-effective solution.
- Are there large areas of alligator cracking, deep potholes, or significant ponding water issues? If yes, this indicates base failure. The lot likely requires full-depth reclamation or complete reconstruction. An overlay will only be a temporary fix.
Generally, a well-maintained asphalt lot will need an overlay every 10-15 years and a full reconstruction every 20-30 years. A concrete lot may last 30+ years with only minor joint repairs.
Checklists for Planning and Post-Install Inspection
Pre-Paving Planning Checklist
- [ ] Verify contractor licensing and insurance.
- [ ] Review and sign a detailed contract specifying scope, materials, and thickness.
- [ ] Confirm local permit requirements.
- [ ] Establish a clear plan for resident communication regarding scheduling and parking.
- [ ] Walk the site to identify and mark all drainage structures, utility covers, and irrigation heads.
- [ ] Finalize the layout for parking stalls, traffic flow, and accessibility markings.
Post-Installation Inspection Checklist
- [ ] Check for a uniform, smooth surface without roller marks, depressions, or loose aggregate.
- [ ] Verify that the surface is properly graded and drains water without ponding.
- [ ] Ensure all joints (where pavement meets curbs, sidewalks, or other surfaces) are clean and flush.
- [ ] Confirm that the compacted pavement thickness meets the contract specifications.
- [ ] Check that all manholes and utility covers are flush with the new surface.
- [ ] Ensure the site is clean of all construction debris.
Further Reading and Technical References
For those seeking more in-depth technical information on paving materials and practices, the following resources are valuable. They provide extensive research and data on the economics and engineering behind various paving solutions. Understanding the life-cycle costs associated with different materials can inform long-term budgeting, and official sources like the Federal Highway Administration offer insights into the durability of driveway paving cost asphalt considerations. A deep dive into the properties of asphalt paving systems can also provide a greater understanding of material performance.