Table of Contents
- Introduction
- What is residential asphalt paving?
- Advantages of asphalt for homes
- Common asphalt mix types for driveways and small lots
- Planning and site preparation
- The paving process step by step
- Overlaying asphalt over existing pavement
- Key factors that affect project scope and cost
- Routine maintenance to extend pavement life
- Seasonal maintenance calendar for homeowners
- DIY inspection checklist
- When to consider professional assistance
- Materials and equipment explained
- Common issues and how to troubleshoot them
- Frequently asked questions
- Resources and further reading
- Conclusion and practical next steps for care
Introduction
A well-maintained driveway does more than just provide a place to park; it boosts your home’s curb appeal, improves safety, and adds tangible value to your property. For many homeowners, the material of choice is asphalt. This guide is your complete homeowner roadmap to residential asphalt paving. We’ll demystify the process from the ground up, covering everything from initial planning and installation to a proactive maintenance schedule that can dramatically extend the life of your investment. Whether you’re considering a new driveway or looking to better care for your existing one, this practical guide will equip you with the knowledge to make informed decisions.
What is residential asphalt paving?
At its core, residential asphalt paving is the process of installing a durable, smooth surface for driveways, walkways, or small private roads using asphalt concrete. Often called blacktop or pavement, this material is a precisely engineered mixture of two primary ingredients: aggregates (a combination of crushed stone, gravel, and sand) and asphalt binder (a sticky, black, petroleum-based substance that holds the aggregates together). When heated, the binder becomes liquid, allowing it to coat the aggregates. The hot mixture is then delivered to the site, spread in a uniform layer, and compacted to create a dense, resilient surface that cools and hardens into the familiar blacktop driveway.
Advantages of asphalt for homes
Asphalt remains a popular choice for homeowners for several compelling reasons. Understanding these benefits can help you decide if it’s the right fit for your property.
- Cost-Effective: Generally, the initial installation cost of an asphalt driveway is lower than that of concrete or pavers, making it a budget-friendly option.
- Quick Installation: A typical residential asphalt paving project can often be completed in just a couple of days. More importantly, asphalt cures quickly, allowing you to use your new driveway much sooner than with concrete.
- Durability and Flexibility: Asphalt has a natural flexibility that allows it to withstand temperature fluctuations without cracking as easily as more rigid materials. This is especially beneficial in climates with freezing and thawing cycles.
- Easier Repairs: Repairing cracks and potholes in asphalt is relatively straightforward and cost-effective. Sealcoating and patching can seamlessly blend with the existing surface.
- Better in Winter: The dark color of asphalt absorbs heat from the sun, which helps snow and ice melt faster. It is also more resistant to damage from rock salt and other de-icing chemicals.
Common asphalt mix types for driveways and small lots
Not all asphalt is the same. The specific mix used for residential asphalt paving is designed for the lighter loads of cars and foot traffic. The most common type is Hot Mix Asphalt (HMA). This is the industry standard, produced at high temperatures (around 300-350°F) to ensure a strong, durable, and weather-resistant surface. The size of the aggregate in the mix can be tailored for either a smoother surface course or a stronger base course. For homeowners, a fine-graded surface mix is typically used for a dense, smooth finish that is aesthetically pleasing and easy to clean.
Planning and site preparation
The long-term success of any asphalt project lies in the work done before any paving even begins. Proper site preparation is non-negotiable and creates the foundation for a long-lasting driveway.
Grading and drainage basics
Water is the number one enemy of pavement. If water is allowed to pool on the surface or saturate the ground beneath it, it will inevitably lead to cracks, potholes, and premature failure. Proper grading is essential. This means ensuring the area is sloped correctly—typically a minimum of a 2% grade, or a quarter-inch drop for every foot—to direct water away from your home’s foundation and off the pavement surface. A professional contractor will use specialized equipment to establish the correct pitch for effective drainage.
Subbase composition and compaction standards
The asphalt you see is only the top layer. Beneath it lies the most critical structural component: the subbase. This is a layer of crushed aggregate rock that provides the load-bearing strength for the entire driveway. The thickness of the subbase can vary depending on the local soil conditions and climate, but a typical residential driveway requires 4 to 8 inches of well-graded aggregate. Once the subbase material is spread, it must be thoroughly compacted using heavy rollers. This process eliminates air pockets and creates a dense, stable platform that prevents the asphalt from sinking or shifting over time.
The paving process step by step
Once the site is prepared, the actual paving can begin. This is a fast-paced process that requires precision and the right equipment to achieve a professional result.
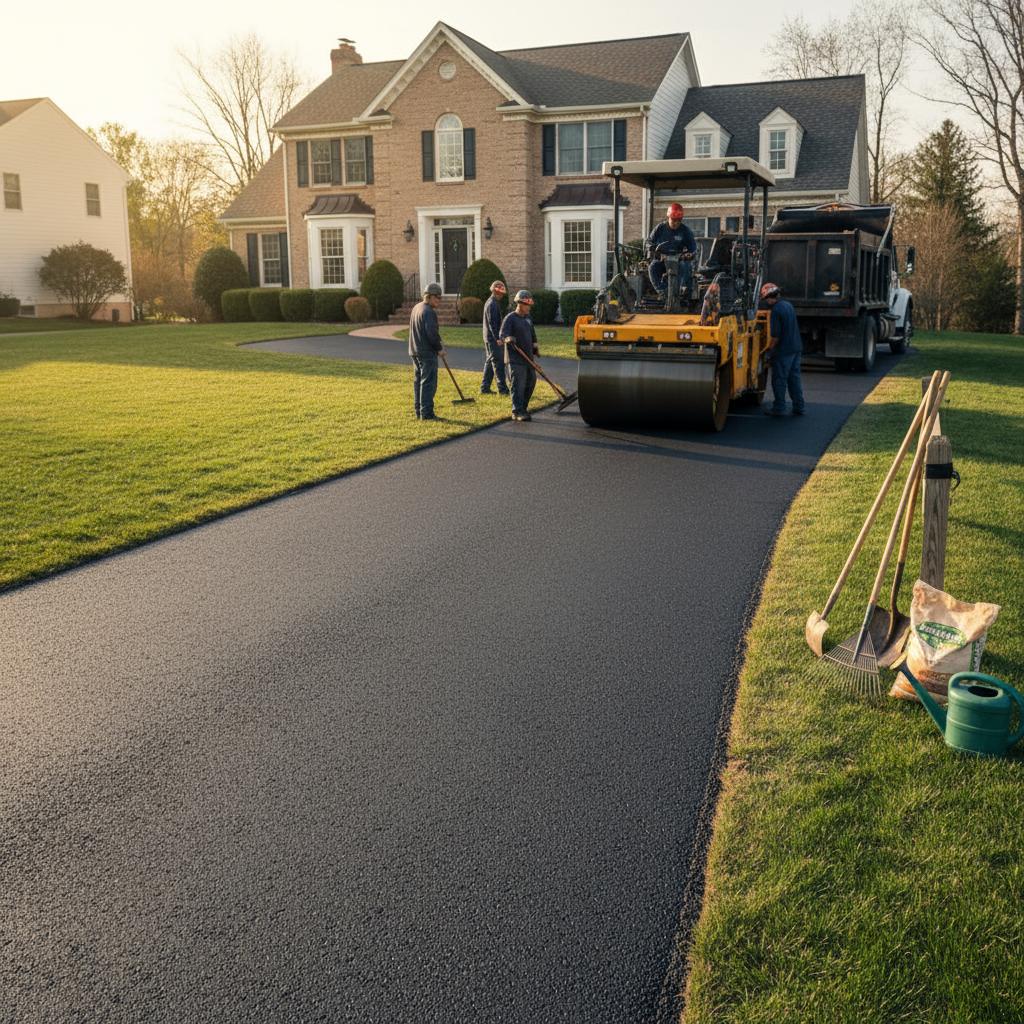
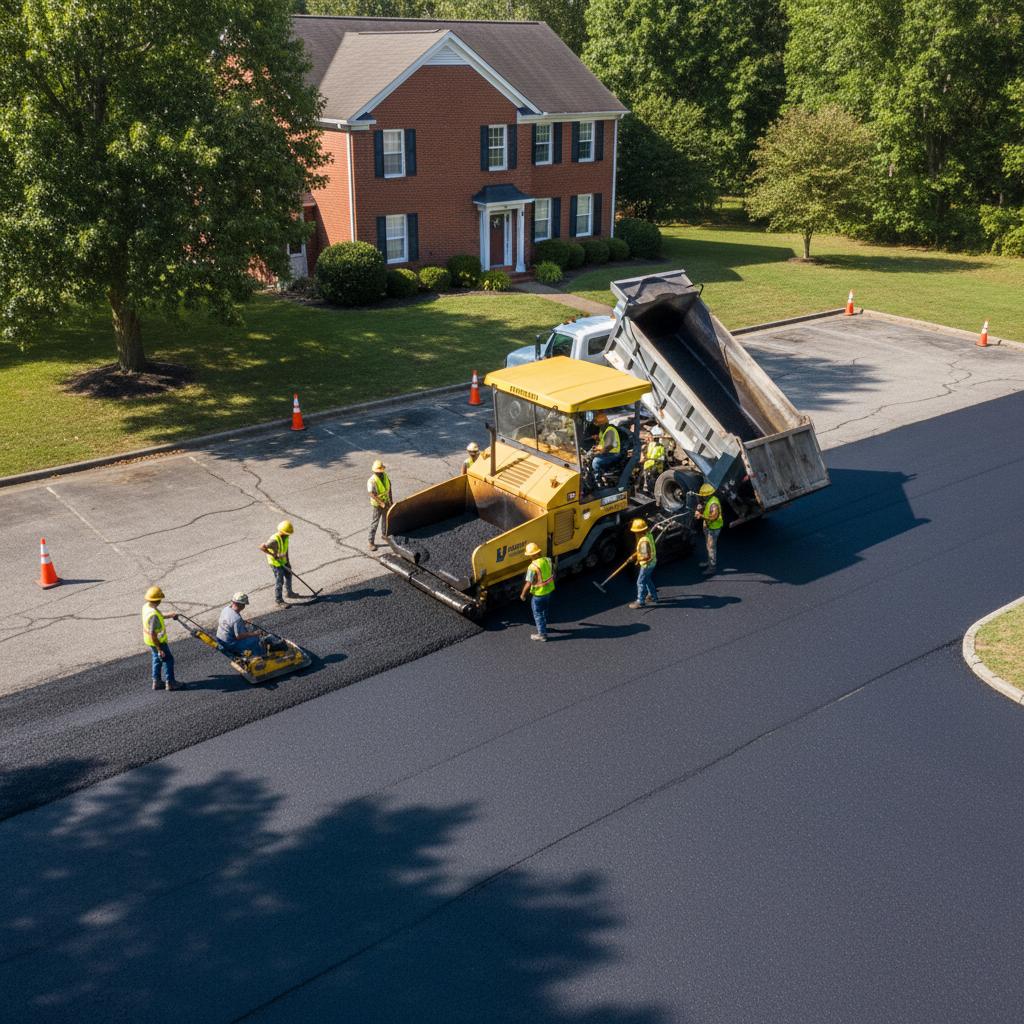
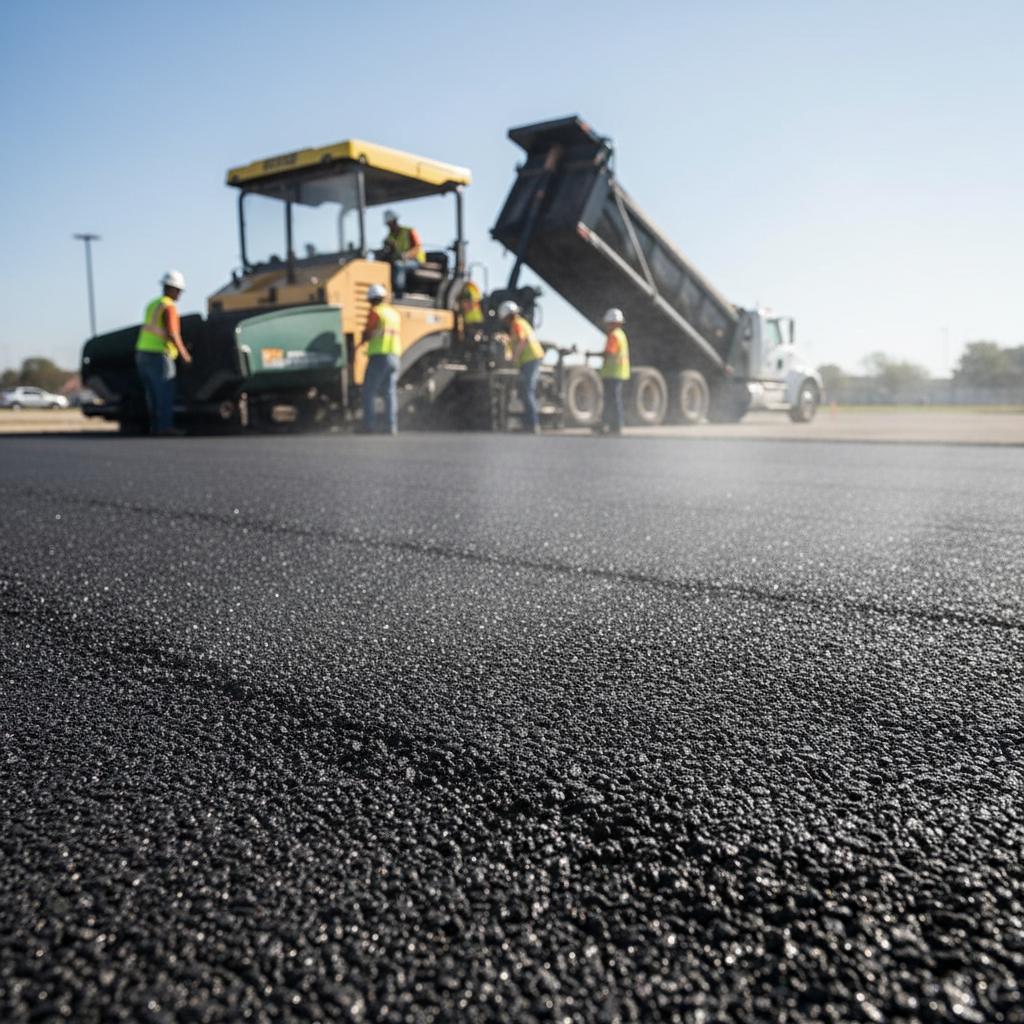
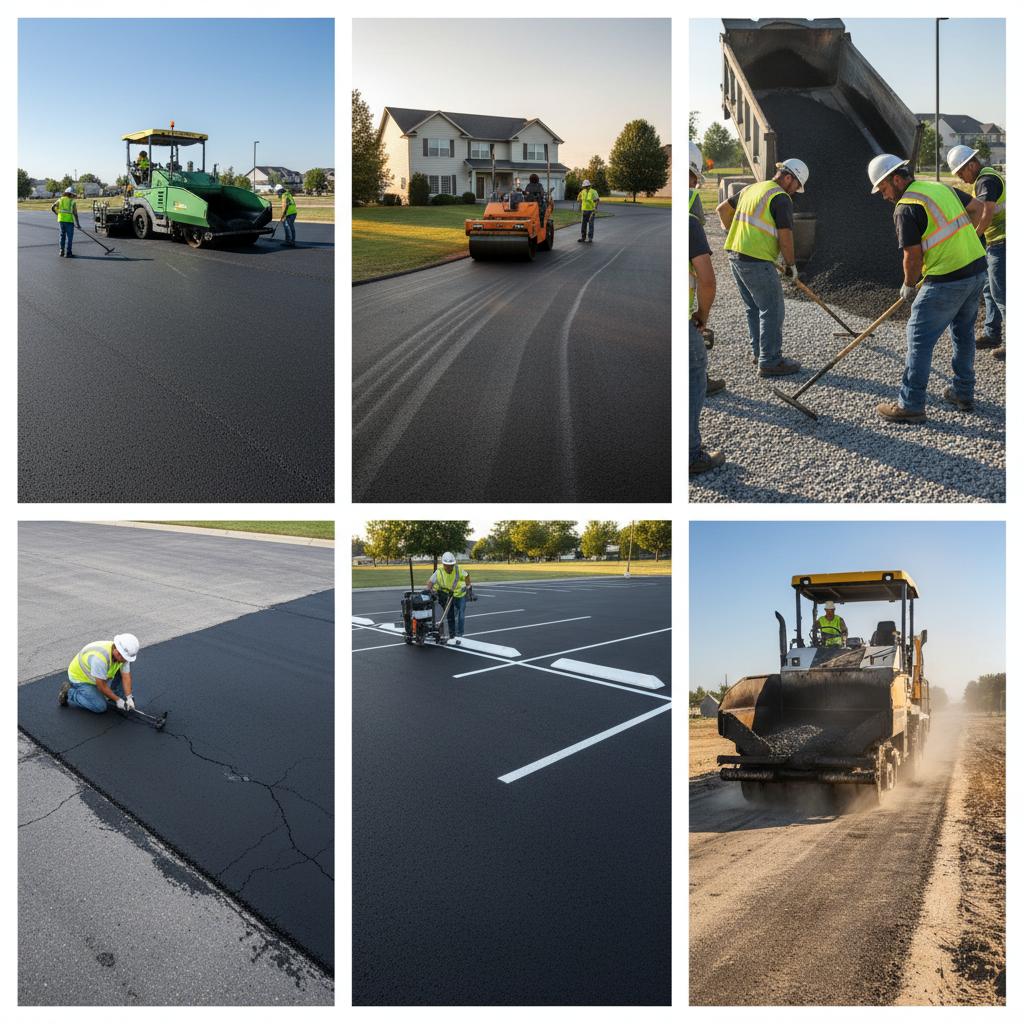
Laying and compacting asphalt
Hot mix asphalt is transported from the plant to your home in insulated trucks to maintain its temperature. It is then typically fed into an Asphalt paver, a machine that distributes the material in a uniform, even layer at a specific thickness. For smaller residential projects, this may be done by a skilled crew using hand tools. Immediately following the paver, a large, heavy roller begins the compaction process. This is a critical step that squeezes the asphalt particles together, removing voids and achieving the required density for strength and durability. Multiple passes are made with the roller until the asphalt is perfectly smooth and compacted.
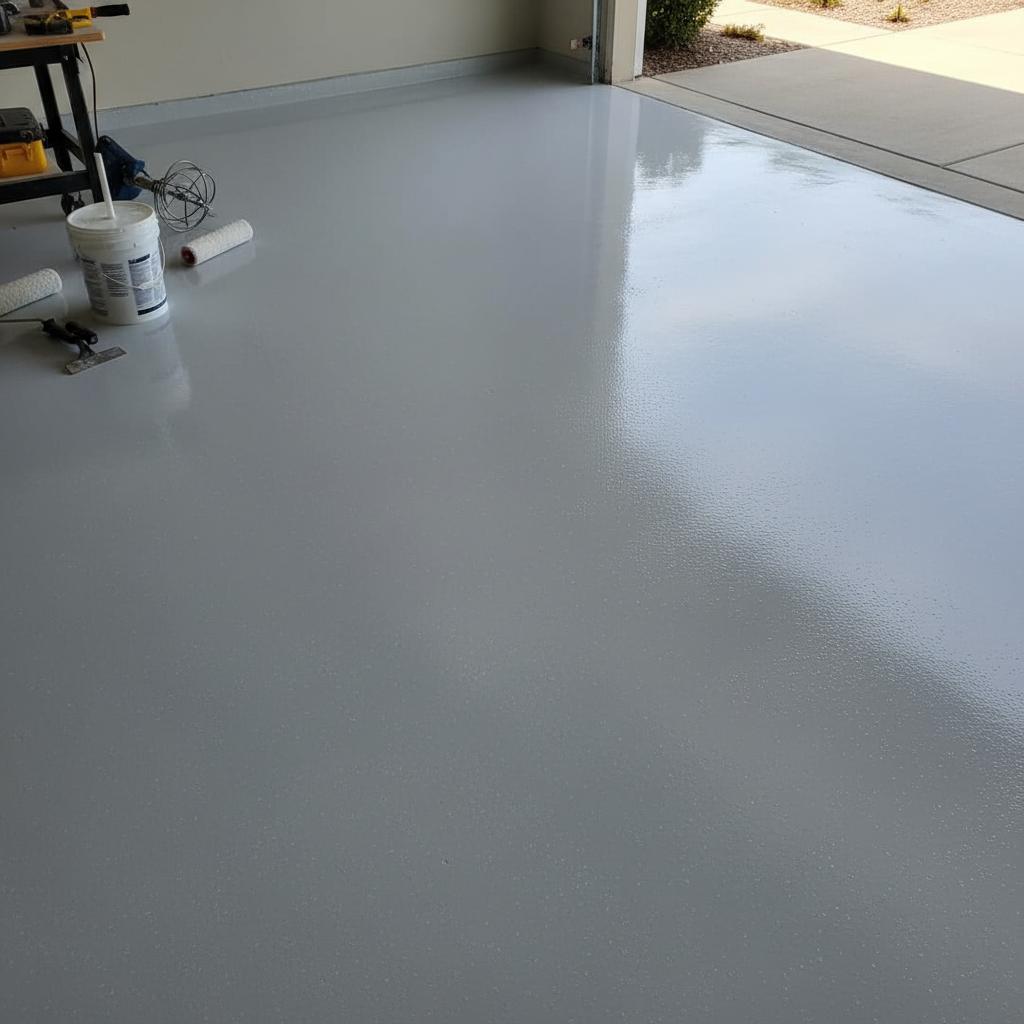
Edge finishing and joint treatment
The edges of the driveway are the most vulnerable part. A well-constructed edge should be beveled at a 45-degree angle to provide support and prevent crumbling. If the new asphalt meets an existing surface, like a concrete garage floor or sidewalk, a clean joint is created. These joints should be sealed with a hot-pour rubberized sealant to prevent water from penetrating between the two surfaces, which is a common point of failure.
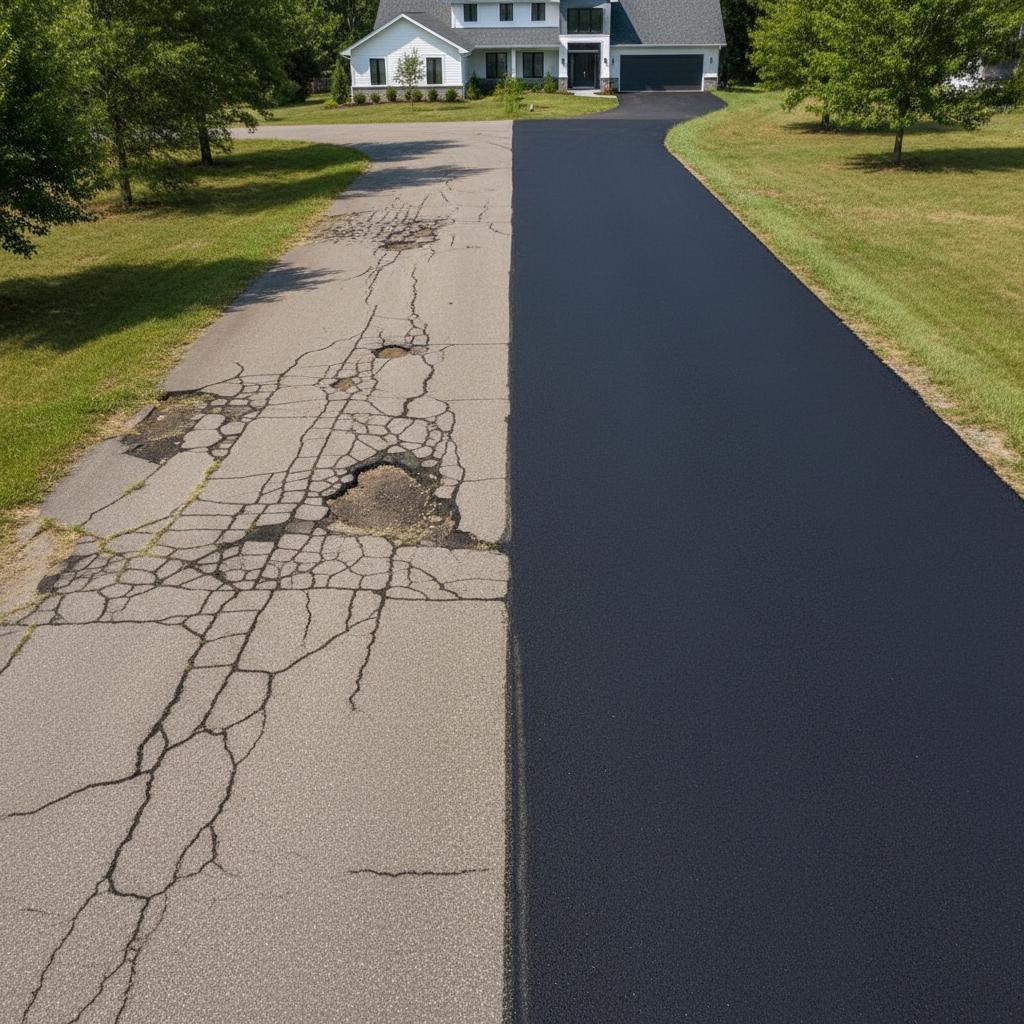
Overlaying asphalt over existing pavement
If you have an existing asphalt driveway that is structurally sound but has surface-level issues like minor cracking or a worn appearance, an asphalt overlay (or resurfacing) can be a great option. This involves cleaning and repairing the existing surface, applying a tack coat (an adhesive binder), and then paving a new layer of asphalt (typically 1.5 to 2 inches thick) directly on top. An overlay is less expensive and disruptive than a full replacement, but it is only suitable if the underlying foundation and subbase are in good condition.
Key factors that affect project scope and cost
While we won’t discuss specific figures, understanding the variables that influence a residential asphalt paving project is crucial for budgeting and planning. These factors include:
- Project Size: The total square footage of the area to be paved is the most significant factor.
- Site Preparation Needs: A project requiring extensive excavation, grading, or removal of an old driveway will be more complex than a simple overlay.
- Subbase Requirements: The thickness of the required aggregate subbase, which depends on soil quality, impacts material needs.
- Asphalt Thickness: The specified thickness of the new asphalt layer directly affects the amount of material used.
- Accessibility: Difficult-to-reach areas may require more manual labor and specialized equipment.
- Drainage Solutions: The need for installing culverts, French drains, or other complex drainage systems can add to the project’s scope.
Routine maintenance to extend pavement life
Your new asphalt driveway is an investment. With proactive care, you can easily double its lifespan. A consistent maintenance routine is the key to protecting your pavement from the elements and everyday wear and tear.
Sealcoating timing and purpose
Sealcoating is the single most important maintenance task you can perform. A sealcoat is a thin liquid layer applied over the asphalt to protect it from water, UV rays, and vehicle fluids. It replenishes the binder that is lost over time due to oxidation, keeping the surface flexible and preventing cracks. It is crucial to get expert advice on Sealcoating and preservation.
- Initial Sealcoat: Wait 9-12 months after a new installation to allow the asphalt to fully cure before applying the first sealcoat.
- Ongoing Schedule: After the initial application, you should plan to sealcoat your driveway every 2-4 years, depending on your climate and the amount of traffic it receives.
Crack repair techniques and materials
Even with proper care, small cracks will eventually appear. It’s vital to address them immediately before they allow water to penetrate the subbase. For small, non-structural cracks (less than a half-inch wide), you can use a DIY-friendly pourable or caulking-gun-applied crack filler. Clean the crack thoroughly with a wire brush and compressed air before applying the filler to ensure a strong bond.
Patching common failures
For larger issues like potholes or sections of “alligator cracking” (interconnected cracks resembling a reptile’s skin), a simple filler won’t suffice. These areas require patching. This involves cutting out the damaged section, repairing the subbase if necessary, and filling the area with new asphalt material. While small patches can be a DIY project using cold patch asphalt, larger repairs are best left to professionals.
Seasonal maintenance calendar for homeowners
Following a simple seasonal calendar will keep your driveway in top shape. Here is a recommended schedule for 2026 and beyond.
- Spring: Walk the entire driveway and inspect for any damage that occurred over the winter. Clean the surface thoroughly, removing all dirt, debris, and salt residue. This is the ideal time to fill any new cracks that have formed.
- Summer: This is the best season for major maintenance. If it’s time to sealcoat, do it during a stretch of warm, dry weather. Address any weeds growing in cracks and treat any oil or gas stains.
- Fall: Do one last inspection and fill any remaining cracks before winter arrives. This prevents water from getting into the cracks, freezing, expanding, and making them worse. Sweep away leaves and debris regularly.
- Winter: Use a plastic-edged shovel or a snowblower with a raised guard to avoid gouging the asphalt. Minimize the use of harsh de-icing chemicals; sand is a safer alternative for traction.
DIY inspection checklist
Use this simple checklist twice a year (spring and fall) to stay ahead of potential problems:
- Surface Color: Is the asphalt a rich, dark black, or has it faded to a dull gray? Fading indicates oxidation and means it’s likely time to sealcoat.
- Cracks: Are there any visible cracks? Note their location, width, and pattern (e.g., single lines, blocky patterns, or alligatoring).
- Stains: Check for any oil, gasoline, or chemical stains that need to be cleaned and sealed.
- Low Spots: After it rains, do you see any “bird baths” or puddles? This indicates a potential low spot or drainage issue.
- Edges: Are the edges of the driveway intact, or are they crumbling and breaking apart?
- Vegetation: Are weeds growing through any cracks? This is a clear sign that water is penetrating the surface.
When to consider professional assistance
While many maintenance tasks are DIY-friendly, some situations require a professional’s expertise. Call a reputable paving contractor if you notice:
- Large or Deep Cracks: Cracks wider than a half-inch often indicate a more serious problem.
- Alligator Cracking: Widespread, interconnected cracking is a sign of subbase failure and usually requires removal and replacement of that section.
- Significant Drainage Issues: Large, persistent puddles point to a grading or subbase problem that surface repairs cannot fix.
- Heaving or Sinking: Any noticeable warping or sinking of the driveway surface suggests a problem with the foundation.
- Need for an Overlay or Replacement: Resurfacing or a full replacement are large-scale jobs that require specialized heavy equipment and expertise in residential asphalt paving.
Materials and equipment explained
Understanding the basic tools of the trade can help you better communicate with contractors and tackle DIY repairs.
- Asphalt Mix: The combination of aggregate and binder used for paving or patching.
- Sealant: An emulsion product applied to the surface to protect it from damage.
- Crack Filler: A flexible, rubberized material used to seal individual cracks.
- Paver: A self-propelled machine that lays down asphalt at a consistent thickness and width.
- Roller Compactor: A heavy vehicle with a smooth steel drum used to compact the subbase and the new asphalt layer.
- Plate Compactor: A smaller, walk-behind machine used for compacting subbase or patches in tight areas.
Common issues and how to troubleshoot them
| Issue | Common Cause | Solution |
|---|---|---|
| Fading Color | Oxidation from sun and weather | Apply a quality sealcoat every 2-4 years. |
| Minor Cracks | Age and seasonal expansion/contraction | Clean thoroughly and fill with rubberized crack filler. |
| Potholes | Water penetrating a crack and damaging the subbase | Cut out the damaged area, repair the subbase, and apply an asphalt patch. |
| Alligator Cracking | Failure of the subbase due to water saturation or insufficient thickness | Requires full-depth removal of the affected area and replacement of the subbase and asphalt. |
Frequently asked questions
How long does a new asphalt driveway last?
With a proper installation and consistent routine maintenance, a residential asphalt driveway can last 20 to 30 years or even longer.
How soon can I drive on my new asphalt?
You can typically walk on new asphalt within 24 hours, but you should wait at least 3-5 days, especially in hot weather, before driving on it. It can take several months for the asphalt to fully cure and harden.
Why are the edges of my driveway crumbling?
This is often caused by a lack of side support, thin asphalt at the edges, or heavy vehicles driving too close to the edge. Proper edge finishing during installation can prevent this.
Resources and further reading
For those looking to dive deeper into the technical aspects of asphalt, these resources provide a wealth of information from industry leaders:
- Asphalt Pavement Alliance: Offers extensive information and asphalt industry resources for consumers and professionals.
- Asphalt Institute: A hub for technical specifications and asphalt materials guidance.
- Wikipedia: Provides a detailed technical overview of Asphalt concrete.
Conclusion and practical next steps for care
A beautiful, long-lasting asphalt driveway is an achievable goal for any homeowner. The key to success is understanding that residential asphalt paving is a process that starts with a solid foundation and continues with proactive, seasonal maintenance. By following the inspection checklists, staying on top of minor repairs like crack filling, and scheduling sealcoating at the proper intervals, you can protect your investment from the elements and ensure it serves your home well for decades. Your next step is simple: take a walk outside, use the DIY checklist to assess your driveway’s current condition, and build a maintenance plan for the year ahead.