The Ultimate Guide to Concrete Polishing: Process, Costs, and Maintenance for 2026 and Beyond
Table of Contents
- Introduction: What Polished Concrete Is and Who Benefits
- Key Advantages of Polished Concrete for Different Settings
- How the Polishing Process Works
- Stage 1: Grinding and Surface Preparation
- Stage 2: Densifiers and Chemical Treatments
- Stage 3: Progressive Polishing Grits and Finishes
- Sealing Options and Protective Coatings
- Comparing Polished Concrete to Conventional Finishes
- Tools, Equipment, and Material Checklist
- Safety and Ventilation Best Practices
- Cost Factors and Variables to Consider
- DIY Versus Professional: Decision Checklist
- Routine Maintenance Plan and Troubleshooting Guide
- Environmental and Sustainability Considerations
- Before and After Scenarios and Expected Results
- Frequently Asked Questions
- Summary and Next Steps
Introduction: What Polished Concrete Is and Who Benefits
Concrete polishing is a multi-step process where a concrete floor is mechanically ground, honed, and polished with bonded abrasives to cut a concrete floor’s surface. It is then refined with each cut to achieve a specified level of appearance. This process, which also includes the use of a chemical hardener, transforms an ordinary concrete slab into a beautiful, durable, and low-maintenance flooring surface. Often confused with sealed or coated concrete, true polished concrete achieves its shine through mechanical refinement, not a topical coating that can peel or chip.
This versatile flooring solution is no longer confined to industrial warehouses. Today, concrete polishing is a sought-after finish for a wide range of environments. Homeowners are drawn to its minimalist, modern aesthetic for basements, kitchens, and living areas. Facility managers in commercial spaces like retail stores, schools, and offices appreciate its incredible durability and low lifecycle cost. For contractors, offering concrete polishing services opens up a high-demand market that values both function and design. For a deeper technical dive, the Polished concrete – Wikipedia page offers extensive background information.
Key Advantages of Polished Concrete for Different Settings
The benefits of polished concrete floors are substantial, making them a superior choice for various applications.
For Residential Spaces
- Aesthetic Versatility: Can be customized with dyes and scoring to mimic tile, marble, or create unique designs.
- Hypoallergenic: Polished concrete does not harbor dust, dander, or other allergens, improving indoor air quality.
- Radiant Heat Compatible: It is an excellent thermal mass for in-floor radiant heating systems, providing comfortable and efficient warmth.
For Commercial and Retail Environments
- Extreme Durability: Resists damage from heavy foot traffic, pallet jacks, and equipment, minimizing repair needs.
- Low Maintenance: Daily sweeping and occasional mopping are all that’s required, significantly reducing cleaning costs.
- Enhanced Light Reflectivity: A high-gloss finish can reduce the need for artificial lighting, leading to energy savings.
For Industrial Facilities
- Abrasion and Impact Resistance: The densification process creates a surface that is highly resistant to wear and tear.
- Chemical Resistance: When properly sealed, it can stand up to spills from oils and other common industrial chemicals.
- Dust-Proof Surface: The polishing process eliminates the “dusting” that occurs with unsealed concrete, creating a cleaner environment for sensitive equipment.
How the Polishing Process Works
Achieving a perfectly polished concrete floor is a systematic process that cannot be rushed. It involves three primary stages: preparing the surface through grinding, strengthening it with chemical treatments, and then refining it to the desired level of shine. Each stage is critical for a long-lasting, high-quality finish.
Stage 1: Grinding and Surface Preparation
The journey begins with preparing the concrete slab. This is arguably the most important phase, as it sets the foundation for the final result. The goal is to create a flat, smooth canvas free of imperfections.
- Initial Assessment: The first step is to assess the concrete’s hardness (measured in PSI) to select the correct diamond tooling.
- Coarse Grinding: Using a heavy-duty planetary grinder, the process starts with coarse-grit metal-bonded diamonds (typically 16- to 40-grit). This step removes old coatings, glues, and surface blemishes while leveling the floor.
- Crack and Joint Repair: Any cracks or spalls are filled with a suitable epoxy or polyurea filler, which is then ground flush with the surface.
Stage 2: Densifiers and Chemical Treatments
Once the initial grinding is complete, the concrete is ready to be chemically treated. This step is crucial for the floor’s long-term durability and ability to hold a polish.
- What is a Densifier?: A concrete densifier is a liquid chemical hardener, usually a silicate-based product, that penetrates the concrete surface.
- The Chemical Reaction: The densifier reacts with the calcium hydroxide (free lime) in the concrete to produce calcium silicate hydrate (CSH). CSH is the same compound that gives concrete its strength, effectively filling the pores from within.
- Application: The densifier is sprayed generously over the surface and worked into the concrete with a broom or microfiber pad, then allowed to cure. This creates a much harder, denser surface that is less porous and resistant to abrasion.
Stage 3: Progressive Polishing Grits and Finishes
With the concrete hardened, the refinement process begins. This involves methodically passing over the floor with progressively finer diamond grits.
- Honing with Transitional Diamonds: The next steps use transitional or hybrid diamond tools (typically 50- to 200-grit) to remove the scratches left by the initial metal-bond grinding.
- Polishing with Resin-Bond Diamonds: The final polishing is done with resin-bond diamond pads. The process continues through several grits, often starting at 400-grit for a matte finish and going up to 800-grit for a satin sheen. For a high-gloss, mirror-like finish, grits of 1500 or even 3000 are used.
- Achieving the Desired Sheen: The level of gloss is a direct result of the highest grit used. There is no topical coating creating the shine; it is the concrete itself that has been mechanically refined to a smooth, light-reflecting surface.
Sealing Options and Protective Coatings
After the final polishing pass, a protective sealer is often applied. This is not a thick coating but a penetrating guard that provides stain resistance without altering the appearance of the polished concrete.
- Penetrating Sealers (Guards): These are the most common choice for polished concrete. They are typically acrylic or silane/siloxane based. They penetrate the surface to block pores, making it difficult for liquids like oil or wine to soak in and stain.
- Topical Coatings (Not True Polishing): It’s important to distinguish penetrating sealers from topical coatings like epoxy or urethane. While these provide a thick, protective layer, they create a different finish and are not considered part of a true concrete polishing process. A floor with a topical coating is a “sealed” or “coated” floor, not a “polished” one.
Comparing Polished Concrete to Conventional Finishes
Understanding how polished concrete stacks up against other popular flooring options is key to making an informed decision.
| Feature | Polished Concrete | Epoxy Coating | Vinyl Composite Tile (VCT) | Hardwood |
|---|---|---|---|---|
| Initial Cost | Moderate to High | Moderate to High | Low | High |
| Durability | Very High | High | Low to Moderate | Moderate |
| Maintenance | Very Low | Low | High (waxing required) | Moderate |
| Lifespan | 20+ years | 5-10 years | 10-15 years | 20+ years (with refinishing) |
| Moisture Resistance | High | Very High | Low | Very Low |
| Sustainability | High (uses existing slab) | Moderate | Low | Moderate to High |
Tools, Equipment, and Material Checklist
Whether tackling a small DIY project or gearing up as a professional, having the right tools is non-negotiable.
- Primary Equipment: Concrete grinder (planetary or single-head), industrial vacuum with HEPA filter for dust control.
- Diamond Tooling: Full set of metal-bond diamonds (e.g., 30, 70 grit), transitional diamonds (e.g., 100, 200 grit), and resin-bond polishing pads (400, 800, 1500, 3000 grit).
- Chemicals: Concrete densifier, penetrating stain guard/sealer, and crack/joint filler.
- Application Tools: Pump sprayer for densifier, microfiber pads, and cleaning supplies.
- Safety Gear: Respirator or dust mask (N95), safety glasses, hearing protection, and steel-toed boots.
Safety and Ventilation Best Practices
Concrete polishing generates a significant amount of fine silica dust, which is a serious respiratory hazard. Adhering to strict safety protocols is essential.
- Dust Extraction: Always use a grinder connected to a properly sized industrial vacuum with a HEPA filter. This is the single most important safety measure.
- Personal Protective Equipment (PPE): Respiratory protection is mandatory. Wear safety glasses to protect from flying debris and hearing protection, as grinders are extremely loud.
- Ventilation: Ensure the workspace is well-ventilated by opening doors and windows or using industrial fans to circulate air.
- Regulations: Professionals must comply with regulations set by bodies like the Occupational Safety and Health Administration (OSHA), which has specific standards for controlling silica dust exposure.
Cost Factors and Variables to Consider
The cost of concrete polishing is not one-size-fits-all. Several factors influence the final price per square foot.
- Size of the Project: Larger areas generally have a lower cost per square foot due to economies of scale.
- Condition of the Concrete: A slab that is heavily damaged, covered in old coatings, or requires extensive leveling will cost more to prepare.
- Desired Level of Shine: A higher gloss finish requires more polishing steps with finer grits, increasing labor and material costs.
- Complexity: The inclusion of custom colors, logos, or intricate saw cuts will add to the overall price.
- Location: Labor rates and accessibility can vary significantly by region.
DIY Versus Professional: Decision Checklist
While a small-scale DIY concrete polishing project is possible, it is a labor-intensive and technical job. Use this checklist to decide which path is right for you.
- Project Size: Is the area small (e.g., a laundry room or small basement) or large (e.g., an entire ground floor or commercial space)? Verdict: Large projects almost always require a professional.
- Equipment Access and Cost: Can you rent the necessary professional-grade grinder and vacuum? Do you understand the high cost and learning curve of the diamond tooling? Verdict: If professional equipment is unavailable or cost-prohibitive, hire a pro.
- Physical Demands: Are you prepared for a physically demanding job that requires hours of operating heavy machinery? Verdict: The work is strenuous; be realistic about your physical capabilities.
- Desired Outcome: Are you okay with a potentially imperfect, rustic finish, or do you require a flawless, uniform gloss? Verdict: For a perfect, high-gloss finish, professional expertise is essential.
- Technical Knowledge: Do you understand concrete hardness, how to select diamond grits, and the chemical reaction of densifiers? Verdict: A lack of technical knowledge can lead to permanently damaging the floor. When in doubt, consult organizations like the American Concrete Institute for best practices.
Routine Maintenance Plan and Troubleshooting Guide
One of the top benefits of polished concrete is its low maintenance needs. A simple plan will keep it looking great for years.
Weekly Maintenance
Use a microfiber dust mop or broom to remove dust and grit. This prevents fine abrasives from dulling the surface over time.
As-Needed Cleaning
Mop the floor with clean water and a pH-neutral cleaner. Avoid harsh chemicals like bleach, ammonia, or citrus-based cleaners, as they can etch the surface and dull the shine. Clean spills promptly to prevent staining.
Troubleshooting Common Issues
- Stains: For organic stains, use a pH-neutral cleaner. For oil stains, a specialized concrete degreaser may be needed. Always test in an inconspicuous area first.
- Dulling: If the floor loses its luster over time in high-traffic areas, it can be easily re-polished or burnished by a professional to restore the shine.
Environmental and Sustainability Considerations
Concrete polishing is an inherently sustainable flooring choice, aligning with green building trends for 2026 and beyond.
- Use of Existing Materials: The process utilizes the existing concrete slab, eliminating the need for new materials, adhesives, and the waste associated with demolition.
- Improved Air Quality: Polished concrete is a non-volatile organic compound (VOC) flooring system. It does not release harmful chemicals into the air.
- Energy Efficiency: The high light reflectivity of polished floors can reduce the need for artificial lighting, lowering energy consumption.
- Longevity: The extreme durability means the floor will likely never need to be replaced, reducing future resource consumption. For more on green building, refer to resources from the Environmental considerations – US EPA.
Before and After Scenarios and Expected Results
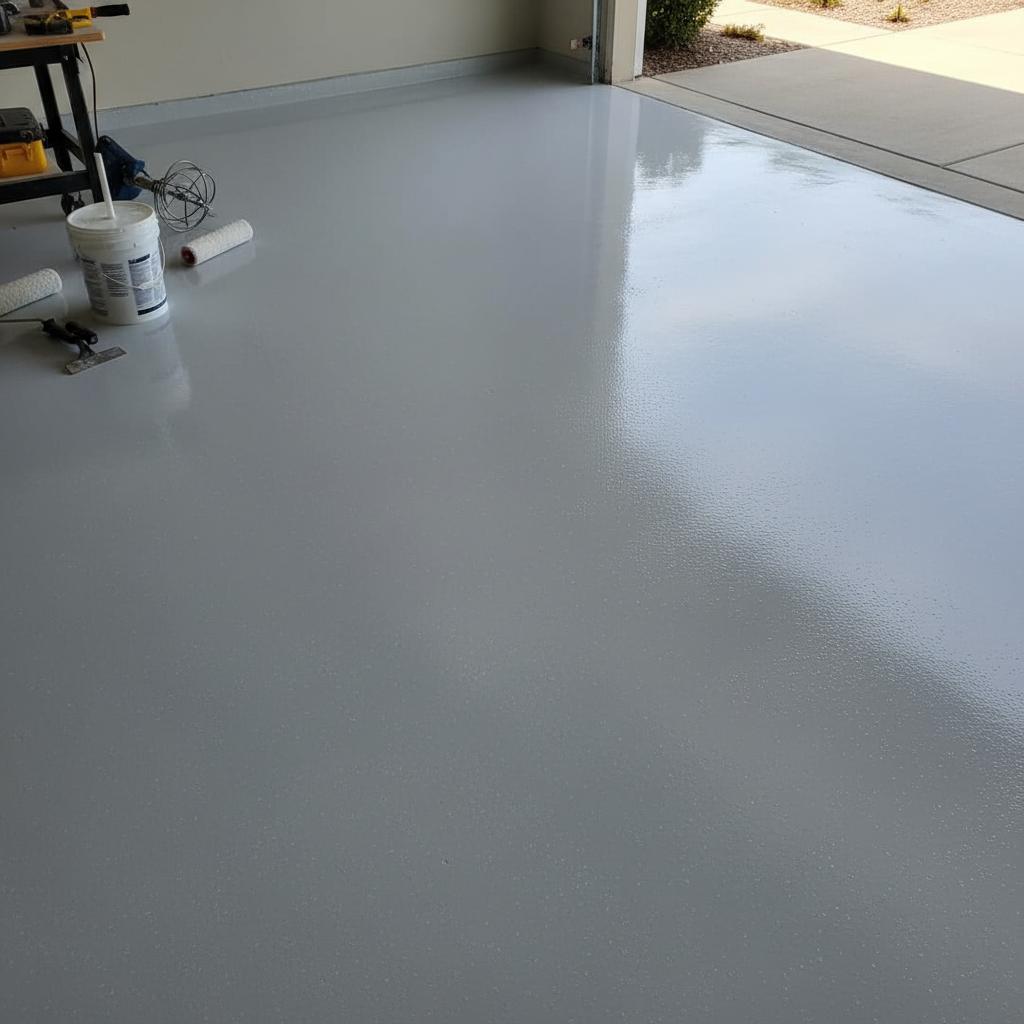
Imagine a typical unfinished basement floor. Before polishing, it is a dull, gray, and dusty surface, prone to cracking and staining. The texture is rough, and the space feels utilitarian and dark. After the concrete polishing process, the transformation is dramatic. The same floor is now smooth and reflective, with a satin or high-gloss sheen that brightens the entire room. The natural aggregates and variations in the concrete are exposed, creating a unique, stone-like appearance. The surface is sealed, dust-free, and easy to clean, turning a once-neglected space into a functional and beautiful living area.
Frequently Asked Questions
Is polished concrete slippery?
Despite its glossy appearance, polished concrete meets or exceeds OSHA standards for slip resistance. When kept clean and dry, it is generally less slippery than waxed linoleum or polished marble.
Can all concrete be polished?
Most concrete can be polished, but the final quality depends on the condition of the slab. Very soft, porous, or heavily damaged concrete may require significant repair work or a cementitious overlay before polishing.
How long does the concrete polishing process take?
The duration depends on the size of the area, the condition of the concrete, and the desired finish. A typical 1,000-square-foot residential project might take 3-5 days.
Can you change the color of the concrete?
Yes. Concrete dyes can be applied during the polishing process to add color and create custom designs. Dyes penetrate the concrete, creating a rich, translucent color that won’t chip or fade.
Summary and Next Steps
Concrete polishing offers an unparalleled combination of durability, low maintenance, and modern aesthetics. By transforming an existing concrete slab into a finished floor, it provides a sustainable and cost-effective solution for residential, commercial, and industrial environments. The process—from aggressive grinding and chemical densification to progressive polishing—is a technical craft that results in a beautiful, highly functional surface. Whether you’re considering it for your home or facility, the key is to understand the process, evaluate the condition of your concrete, and decide between a challenging DIY project and the guaranteed results of a professional service. Your next step is to assess your space and needs to determine if this durable, long-term flooring solution is right for you.